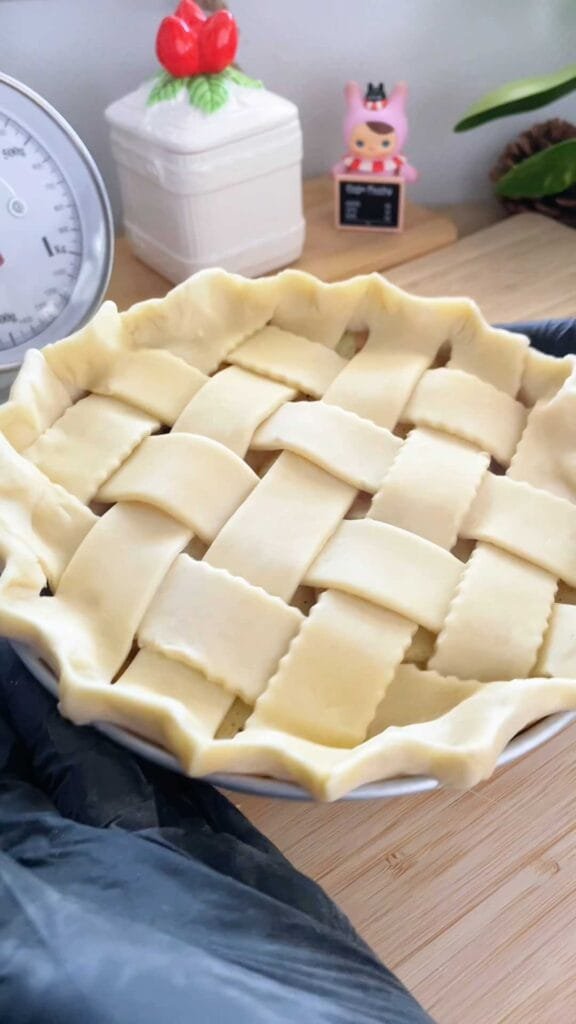
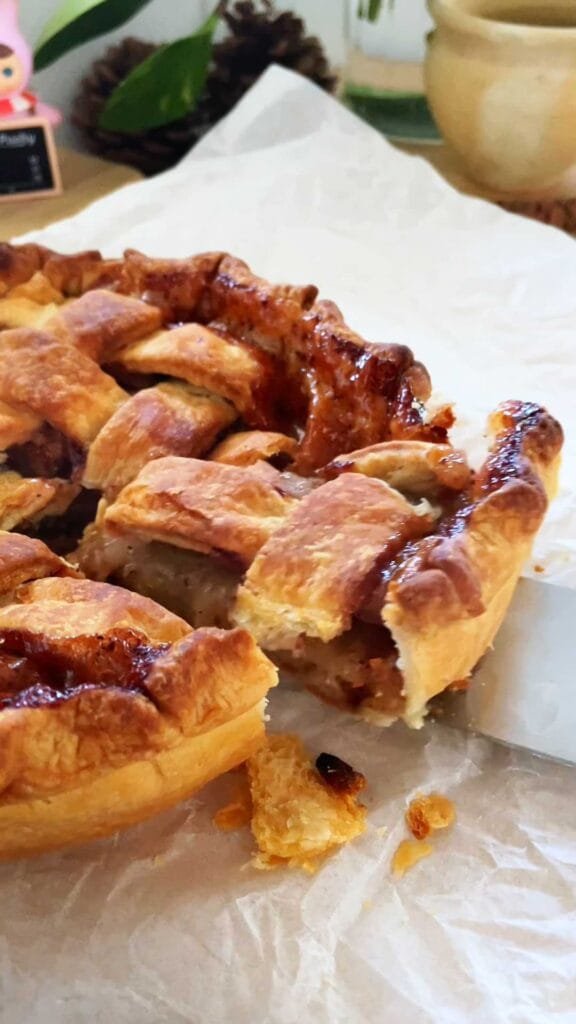
Classic Apple Pie
Classic apple pie recipe that you just can’t stop eating. It is made of all-butter pie crust, which is not sweet, and feels and tastes like puff pastry.
There are many types of pie crusts available out there, however they all share the same principles: The amount of fat is very high compared to the amount of liquids, which allows quick drying of the dough in the oven, which turns it very flaky.
The second principle is that you should always do your best not to over-knead the dough, so the butter doesn’t melt into it.
Pie crust dough is beautifully kept frozen for months, can you can defrost it in the refrigerator overnight, whenever you feel like making a pie.
My last point would be a quick tip for baked fruit pie fillings. Most recipes call for mixing the fruit with cornstarch, to thicken the liquids. Due to my research of gluten free baking, I no longer use cornstarch for this purpose, and use all-purpose flour instead. Regular flour does a wonderful job in holding the filling together for longer- something which the cornstarch fails to do.
First published:
Last modified:
Classic Apple Pie:
Equipment: A single round pie pan, 18cm (d) x 3.5 (depth)
Recipe: a single pie
For the dough (total 414g):
| Ingredient | Amount (g / units) |
| Very cold Unsalted Butter, cubed | 130g |
| All-Purpose Flour | 220g |
| Ice Water | 55g |
| Apple Cider Vinegar | 7g |
| Salt | 1/4 to 1/2 tsp |
Apple Filling:
| Ingredient | Amount (g / units) |
| Granny Smith or Pink Lady apples, peeled, cored and sliced to 1/2 cm thickness | 270g (3 Apples) |
| White Granulated Sugar | 75g |
| All-Purpose Flour | 15g |
| Cinnamon | 3/4 tsp |
| Salt | 1/8 tsp |
Preparation instructions:
For the Dough:
- Into a food processor, add the butter, flour and salt, and pulse until the mixture looks like fine crumbs.
- Add in the water and vinegar, and pulse just until the dough comes together when pinched between the fingers. Do not reach a dough ball stage when processing the dough with the machine.
- Transfer the dough onto a large piece of plastic wrap and use it to bring the dough together, which using the root of your palm. This is helping to minimize heat transfer from your hands to the dough.
- Divide the dough into 2 units, 207g each, shape each one roughly into a disk, cover tightly with plastic wrap, and refrigerate for 1 hour or overnight. One piece will be used to make the base and the other to make the pie lattice.
- After the dough had rested, on a lightly floured counter, roll the dough to a round circle 24cm in diameter. During rolling, you may dust your counter if you feel the dough sticks to it although it shouldn’t. The final thickness should be 3 mm.
- Arrange the dough inside the pan. Note that there’s no need to flour or grease the pan- the dough contains sufficient amount of fat which prevents it from sticking to the pan after baking.
- Transfer the pan with the dough to the freezer, while making the filling.
For the Apple Filling:
- In a large bowl, thoroughly mix together the filling ingredients: apple slices, flour, cinnamon, salt and sugar.
- Arrange the slices inside the crust so they lean on each other.
- Transfer the pan back to the freezer, while rolling out the second part of the dough, to make the lattice.
Shaping and baking:
- On a lightly floured counter, roll the second part of the dough, the same way the base was rolled. This time roll it to a rectangle sized 20cm (w) x 32cm (l). The final thickness should be 3mm.
- Using a pizza cutter, cut strips sized 2.5cm wide and 20cm long.
- Take the pan out of the freezer and make the lattice pattern over the apple filling.
- Using scissors, trip the excess dough of the lattice that are extending out of the pan.
- The rest of the dough should be attached to the base, and you can also crimp them together in any way you like.
- Return the pie to the freezer for 20 minutes. In the meantime, pre-heat your oven to 220C, fan mode off, placing a baking rack at the lowest shelf inside the oven.
- Bake for 20 minutes at 220C. Then lower the temperature to 190C, and bake for additional 40 minutes.
- Take the pan out onto a cooling rack, and allow the pie to cool down completely (!) before unmolding and cutting into it. It could take anywhere between 1.5-3 hours, depending on your room temperature.
The pie is at its best the day it is made, but stores well in an airtight container in a nice cool room temperature between 2-3 days.


