Gluten Free Baking
First Published: 03 April 2024
Last Updated: 09 January 2025
In a world of increasing need in gluten free preparations, I, have been living in a cave. I got used to the fact that Passover is just a single week in which I had to forsake my most loved pastries, but more than that, I have been too skeptical. Skeptical of trying new stuff, perhaps it was also joined by concern that I would throw away too many precious ingredients.
However, the year is 2024, and I’ve decided to harness everything I know about gluten baking, to explore and try out gluten free baking. Not just because of Passover. It is because I truly feel there’s a great level of interest, and I’d better crawl out the narrow tunnel I was at.
The rules of the gluten free baking game are very different. And no, I did not invent them, nor have any claims to such crown.
I’ve explored books, the web, but in my humble opinion, the undisputed queen of gluten free baking, is Katarina Cermelj. Her gluten free baking blog “The Loopy Whisk“, is one of the best and meticulous I have ever seen.
On her blog, she explains gluten free baking in the most scientific and accurate manner possible, just the way I like it. When it makes sense, not just blindly following a recipe.
Anyways, the rules of this game, which she so clearly and accurately phrased, paying attention to the tiniest detail, I implement on my own recipes.
After a careful analysis of dozens of recipes, and some excel spreadsheets numbers manipulation, I also have reached new insights, as I now feel more comfortable to summarize the gist of knowledge that any gluten free baker should know.
Table of Contents
1. What is gluten free baking?
Gluten-free baking is the process of making baked goods without using wheat flour or any other ingredients that contain gluten. Gluten is a protein found in wheat, barley, rye, and related grains. For individuals with celiac disease or non-celiac gluten sensitivity, consuming gluten can lead to adverse health effects. Therefore, gluten-free baking is essential for people who need to avoid gluten for health reasons.
2. What are the commonly used flours in gluten free baking?
These days, there is a wide variety of alternative flours that originate from seeds, nuts, legumes or gluten free grains. The abundance and variety is truly great, compared to time periods of only 10-15 years ago, when it was really challenging many of the currently available products.
The flours are roughly classified as starch flours and protein flours. As expected, starch flours will contain a high quantity of starch, while protein flours, will contain a high quantity of protein.
Starch flours (cornstarch, tapioca flour, potato flour, white rice flour), are playing a role in improving the baked items’ texture. They are highly absorbent, and consequently make batters thicker.
Protein flours (maize flour, sorghum flour, millet flour, teff flour), are responsible for creating the structure and flavor profile of gluten free baked goods. In the absence of gluten, the proteins found in these flours, help mimic the elasticity and binding properties of the gluten, improving the de facto final texture of the baked item.
Ground nuts (almond meal, desiccated coconut etc.), contrary to the other two groups, function slightly differently. They don’t actually contribute to the structure, but do enrich the flavor, as they hold large amount of water which contributes the overall moisture of the baked item. However, they also make cakes denser, therefore, they have to be used in good measure.
I’ve mentioned desiccated coconut, and I’d only wish to clarify that it is a completely different product than “coconut flour”. Coconut flour is an ingredient that has absolutely insane absorbing properties, and just to give you some heads up that using it should be done in very small amounts as it can totally destroy your baked items if not being used correctly.
3. Flours combination in gluten free baking:
In light of the above, any gluten free baker must understand that different types of flours have to be combined in order to reach good results, and you can’t just use one type (unless you’re making brownies all day long, then it really doesn’t matter…).
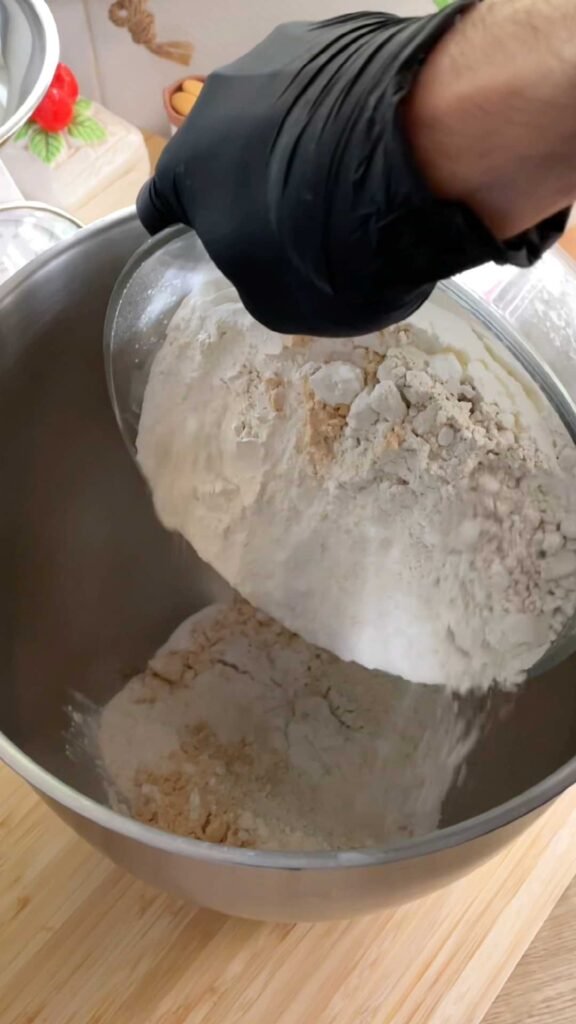
Among the information I found online, and my own data analysis, I’ve reached the following flours combination, taking into consideration flours that are gluten free, that are considered as “less exotic” to the vast majority (so people are not less keen to try out), and that are also approved to be used on Passover (not all of the flours are approved, so…).
100g of plain all purpose flour, in any given cake recipe, can be substituted in the following manner:
- 50-60% White rice flour
- 30% Potato flour
- 20-25% Almond meal
I am fully aware that these numbers exceed 100%. The reason being is that I’ve discovered that almond meal highly improves the texture of cakes, keeping them moist for longer.
If it’s cookies you’re interested in, you can substitute the almond meal with cornstarch, to complement the percentage to 100%.
I’d also like to add a few words about the importance of white rice flour in gluten free baking. Rice flour is very unique as it is very neutral in flavor (considered to be a “flavor carrier”), with high starch levels as well as high protein levels, considering the fact that it is mostly starch.
It has very specific absorbing properties, it is light and airy and contributes to the final texture like no other alternative flour does (at least from my experiments).
4. The importance of liquids in gluten free baking:
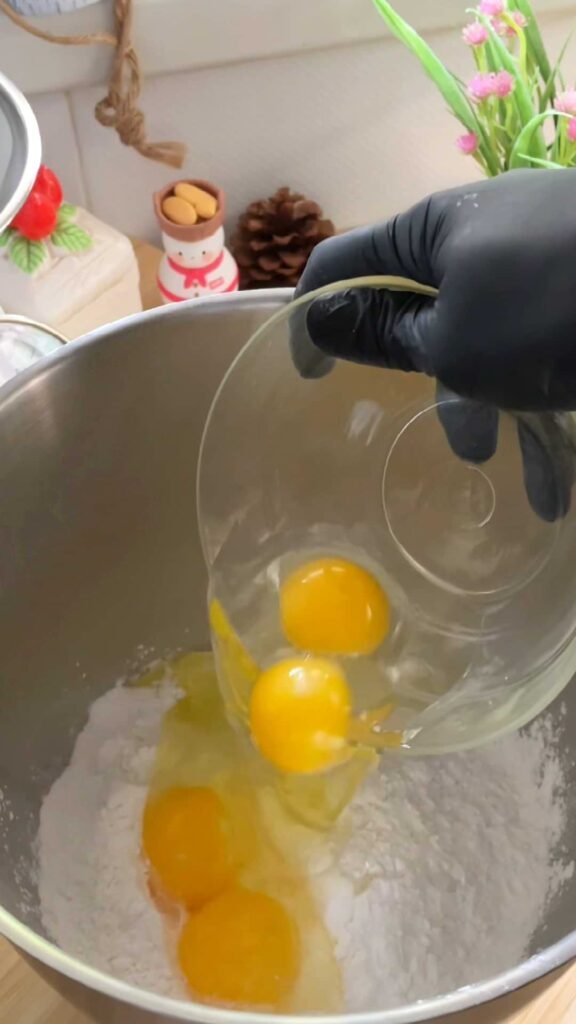
Gluten free cakes, and gluten free baked items in general, should be highly saturated with large amounts of liquids. The alternative flours are highly absorbent, especially if using ground nuts in the mix.
Generally speaking, you would need anywhere between 120% to 150% of liquids, compared to the amount of flour in a given recipe.
The higher ranges pertain to chocolate cakes that incorporate cocoa powder, which is known for being an absorbent in itself.
5. Baking enhancers:
Gluten free baking is not just about the balanced flour blend and high hydration. In the absence of glute, you need a substance that will be able to combine all of the ingredients together, so they won’t dry out and crumble after baking. Such substance is called Xanthan Gum. Without going into too much details on how it is made, this ingredient is a poly-saccharide, that has a double action mechanism of both thickening and binding. Xanthan gum is the ingredient that help mimic the crumb of a wheat based baked item, and it cannot be omitted for the most part.
6. Preparation method of gluten free baked items:
Surprisingly, gluten free cakes and cookies are mostly whipped in a single bowl, without the need to separate any eggs (unless called for by the recipe), and without any concern of over-mixing, as gluten network is not being formed at all
7. What about gluten free yeasted doughs?
As promised, I am updating this page after I have successfully managed to reach new insights regarding gluten free yeasted dough recipes.
Every day, sometimes even several times a day, I experimented with different combinations of many types of alternative flours, tested hydration levels, and used all the tricks I know about wheat gluten yeasted doughs, and let me tell you it was a very challenging experience.
I’ll start by saying that although I felt like I sailed through gluten free cakes pretty easily, developing a gluten free yeasted dough recipe was a much more complicated task than it seemed. There are many parameters that needs to be taken into considerations, which I will describe in the following sections:
a. Protein Content:
Gluten free yeasted dough is very distinct from a wheat gluten yeasted dough. It is far softer, lacks elasticity, tears very easily, and the final texture doesn’t even feels exactly like your typical yeasted dough pastry.
The first thing that must be taken into consideration, is the protein content and flour composition. Alternative flours are divided to starch flours and protein flours- below I’ve summarized the starch levels (in terms of carbs) and protein levels, in each and every one of the flours I tend to use:
Flour | Type | Starch (%) | Protein (%) |
Cornstarch | Starch | 88 | 0 |
Tapioca Flour | Starch | 89 | 0 |
Potato Flour | Starch | 84 | 0.5 |
White Rice Flour | Starch | 77.5 | 8.1 |
Maize Flour | Protein | 69.5 | 6.9 |
Sorghum Flour | Protein | 77 | 8.4 |
Millet Flour | Protein | 64.3 | 11 |
Teff Flour | Protein | 65 | 13.3 |
Buckwheat Flour (Green) | Protein | 61.5 | 13.2 |
If the starring ingredient in gluten free cakes is white rice flour, in gluten free yeasted dough, its role is minimal. Due to the lack of gluten (which is a protein in itself), using starch flours will not allow the required strength the dough needs in order to proof, and as a result, its texture will become rubbery. You must therefore balance out the starch flours with protein flours.
In addition, in light of this article, I’ve come to realize that adding more protein to the dough, in addition to what’s already found in the alternative flours, can improve the dough’s texture and make it more user friendly. I’ve therefore decided to use additional pea protein powder in my recipes.
b. Hydration levels:
Gluten free yeasted dough hydration level is substantially high, when compared with a standard wheat gluten dough. The hydration is the proportion of the total amount of liquids, of the total amount of flour in a given recipe. Due to the high absorbency properties of the alternative flours, they need to be saturated with more liquids. This also has an impact on the baking process- you need to ensure that most of the water content had evaporated from the dough during baking, and the final baked dough temperature should reach about 93C.
c. Baking Enhancers:
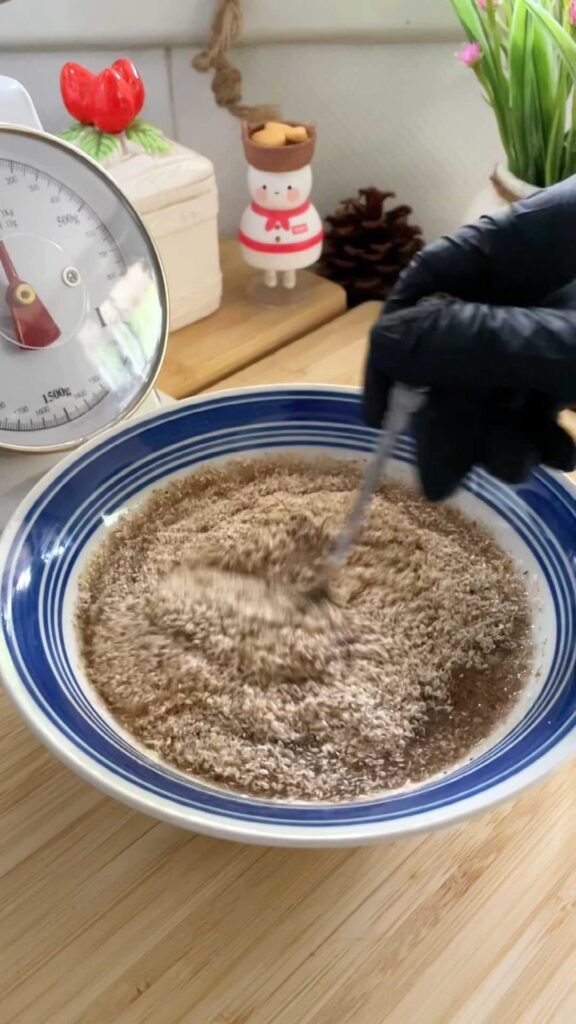
Gluten free yeasted dough must also be enhanced with xanthan gum, in order to bind all of the ingredients together, in a manner that will mimic the role of gluten. However, this activity performed by xanthan gum is not sufficient, and therefore we need to combine an additional ingredient in the mix, called psyllium husk. It is a plant-based substance, extracted from the seeds of the psyllium plant. It is a hydrocolloid, that when combined with a liquid it creates a gel. It has plenty of health benefits and contains a large amount of fibers (feel free to google it for more information). Combining this “spongey” substance in a gluten free yeasted dough, allows it to mimic another action the gluten is responsible for, which is creating a dough consistency that you can knead.
In addition to the above, I am also adding baking powder. It sounds awfully strange to combine baking powder in a yeasted dough, and probably in some places in France they’d be very pissed to hear about it. But as I mentioned, gluten free yeasted dough is a very different entity, and yeast activity alone, is not sufficient in order to efficiently proof the heavy dough with all of its liquid content.
d. Dough Composition:
Since I first published this learning article, I’ve experienced quite a lot with gluten free yeasted doughs, until I finally felt comfortable to combine all my knowledge into a single baking class which I am now teaching locally.
I have published several gluten free bread recipes, and they all have been well accepted by home bakers who gave them a try, which ensured me I’m on the right track.
Generally speaking, the balance between the starch flours and protein flours, will determine whether your bake is going to be softer with an open crumb, or heavier and dense.
I have developed a basic formulation, which is very versatile to adjust, between the balance of starches to protein flours, in a way that each and every person could make their own, wonderful, gluten free breads at home. The complete information and methods are being taught in my baking classes.
The second most important point to consider the dough’s hydration, which plays an important role in the bake’s preparation stages, including the proofing, baking, and the oven spring.
Without it, the dough will be either soupy or with a hard, rock-like texture.
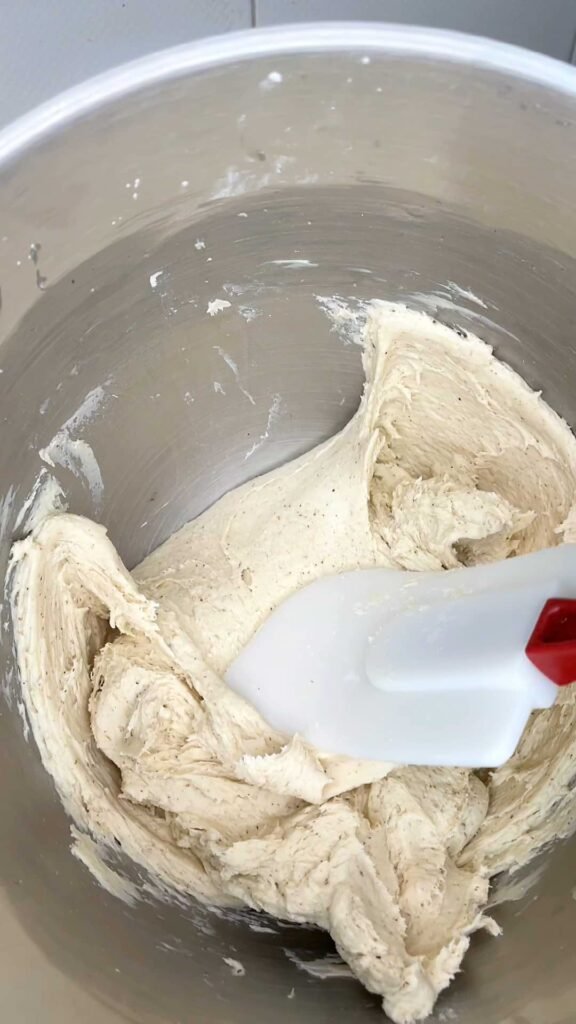
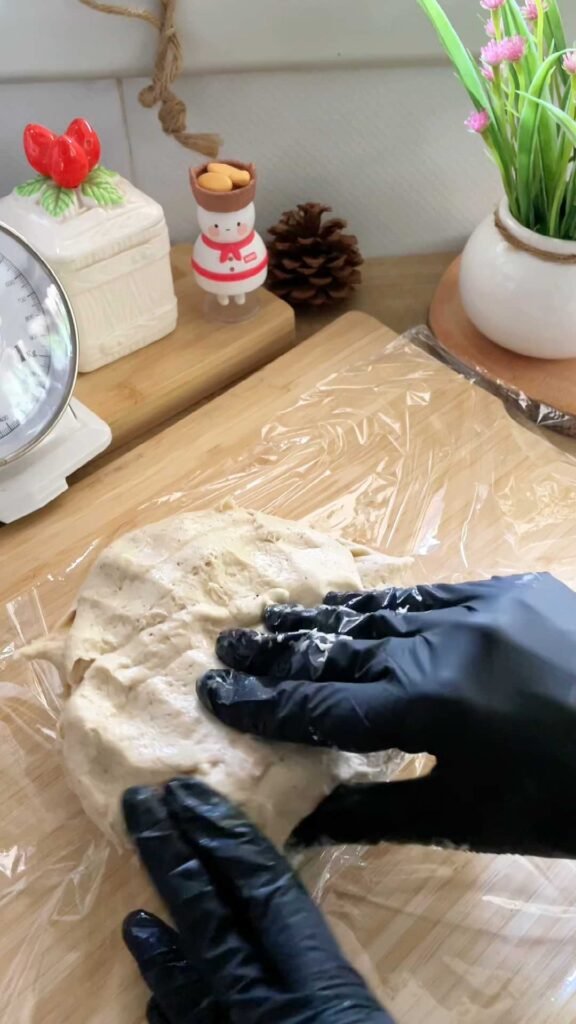
A balanced, gluten free yeasted dough, should not be liquid or extremely sticky, while also shouldn’t be dry and crumbly. You should expect some degree of stickiness, but it should make the dough unworkable. A light dusting of gluten free flour, should allow kneading and shaping the dough nicely to many beloved shapes of breads, buns, rolls and yeasted dough cakes.
As far as enriched gluten free doughs go, the story is a little bit different, and for now it seems that every dough has its own flour composition, in order to achieve the desired result. I’m still working on a single solution that can fit all cases. Either way, I’m adding xanthan gum to all my enriched gluten free yeasted doughs, as it is a good binder of the ingredients and maintains a good and soft texture, for longer.
e. Preparation Methods:
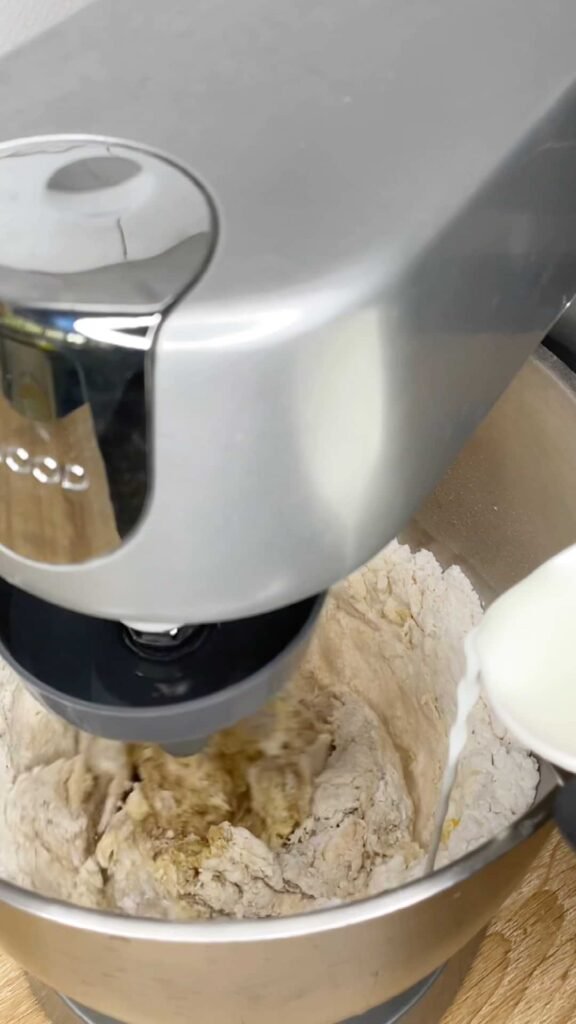
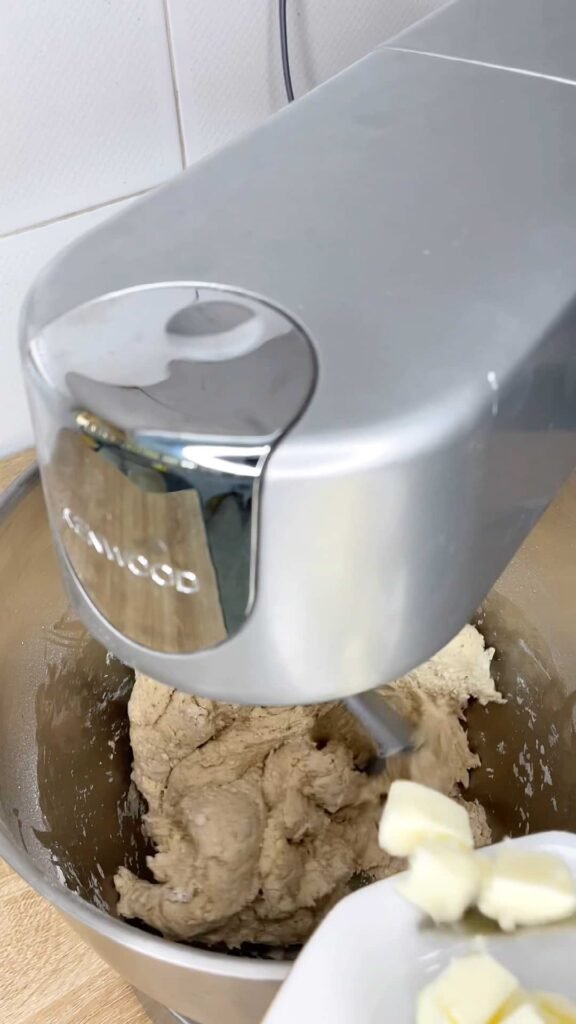
It is highly recommended that gluten free yeasted doughs are processed in a standing mixer only, fitted with a paddle attachment.
This will ensure the best incorporation of ingredients with one another, and it is important to stop the machine every once in a while, and scrape the dough from the sides and bottom of the mixing bowl, as well as from the paddle attachment, in order to promote uniform mixing.
As there’s no need to develop any gluten in the dough, the processing time will be rather short- about 3-4 minutes.
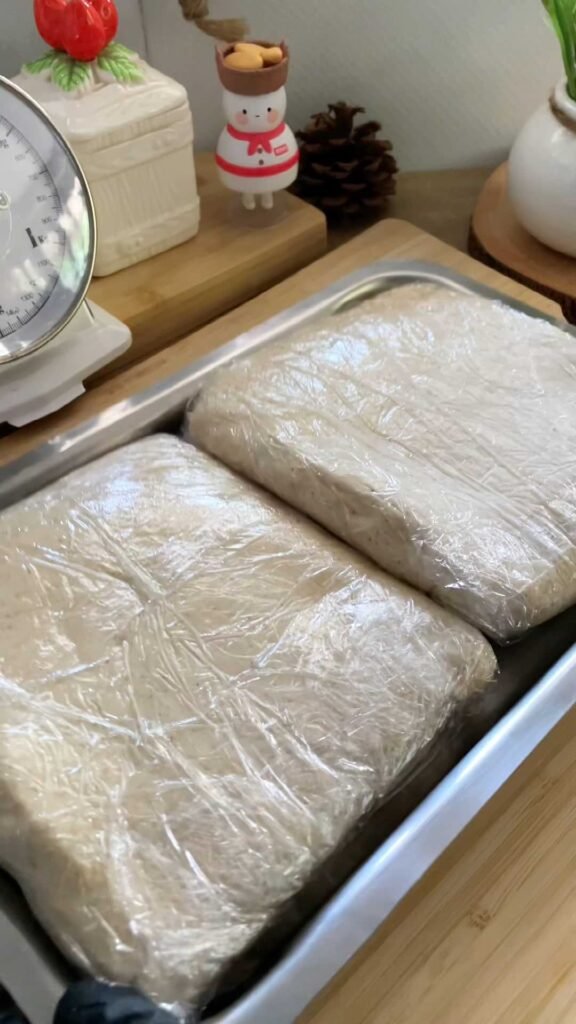
After the dough has been processed, it should rest in the refrigerator for 10-15 minutes, in order to re-hydrate, and it can be worked with right away. There’s no need in prolonged proofing stages, and from this point onward, you should be able to work with the dough as if it was a gluten filled yeasted dough.
Yudane:
This method is reminiscent of the tangzhong method. Both methods require to cook part of the flour and liquids in the recipe, in order to form a pasty dough. Cooking the starches with the water makes them hold the liquid more efficiently. This allows for a softer, airier and nicer to work with dough. As a bonus, it also delays staling (retrogradation- explanations are further down).
The main differences between yudane and tangzhong, are in the flour to water ratio, and the cooking method:
| Yudane | Tangzhong |
Flour : Water | 1:2 | 1:5 |
Cooking Method | Bring the water to a boil, then pour them over the flour. Mix until you get a pasty dough. | Cook the water together with the flour in a saucepan, and mix until you get a pasty dough. |
Yudane is more efficient because it is quicker to make, saving us time and extra dishes to wash, and also has an advantage because of the higher flour to water ratio used, compared to tangzhong. This actually benefits the result, as more flour is used to hold the liquids. Tangzhong also has different flour to water ratio when used, but the commonly acceptable ratio is 1:5.
f. Retrogradation:
Starch retrogradation is a very common process happening in particular in gluten free yeasted dough pastries, as they are mainly composed of starches as the main building block. During this process, the starch molecules are re-arranging in some way when the pasty cools down, making the dough undergo some textural changes: it turns stiff or rubbery, similarly to wheat gluten yeasted dough pastries. You can delay this process by storing the pastry well in a sealed box. But the best solution is the microwave the pastry for 20-30 seconds, in order to restore its soft consistency (as we commonly tend to do with yeasted dough pastries).
8. My personal opinion on pre-made flour blend:
I’m sure that there will be those who are asking themselves “why not just buy the storebought gluten free blends?”
The simple answer would be, the reason for which I am not willing to purchase a self-rising flour, is the same reason behind me making my own gluten free flour blend. I have no idea what quantities and ratios of the flours are in the storebought blends, they include additives that I am not really interested in, I cannot control the textures and flavors, and as a control freak, that’s simply not how I roll…
There is great sense of satisfaction is self-experimenting, at least IMHO. In my own experience with those storebought blends, the results were not very successful (the aromas are also not kindly remembered) …). I’m sure there are wonderful blends out there that many people are easily enjoying, or perhaps I just didn’t get lucky enough to buy a bad blend.
However, price also plays some part, and I couldn’t not notice that in the long term, it pays off a lot more to make your own flour blend, especially since in our day and age, healthier food products are necessarily being priced higher. My own calculations shown me that making your own flour blend at home, could save you anywhere between 29 to 43% (!), depending on brand, and where you source the ingredients from.
There’s also the question of whether the home-made blend is superior to the storebought blend. As I didn’t test my dough against each and every flour bend available (otherwise it would never end), I did conduct many experiments until I’ve reached the consistency, I was happy with, that yields a very nice result.
And although there’s no intention of ruling out storebought flour blends altogether (if they are working fine for you, that’s awesome), I am still very much interested to put my recipes in the “real world” testing environment, and check on the results of those who actually try them out.
Happy Baking!